
Free Fusion Paintout Macro - InPaint
If you do cleanup work in Fusion, you already know the pain: removing logos and branding sounds simple until you hit gradients, reflections, bounce light, and camera movement. You can do everything “correctly” with manual cloning and still end up with a patch that looks darker, smoother, or “floaty” the second it plays back.
In this tutorial, I am releasing a free custom Fusion macro designed to speed up paintout and cleanup work while keeping the result as close to the original lighting and texture as possible. The macro is built to get you to a strong starting point fast, so you can either complete the shot sooner or spend your time on the final 10–20% that actually matters.
You will see three real examples across three different shots so you can understand how to use the tool in different scenarios:
Removing branding on a laptop (gradients + color shifts + camera move)
Removing logos from textured surfaces (detail alignment and high-frequency texture extraction)
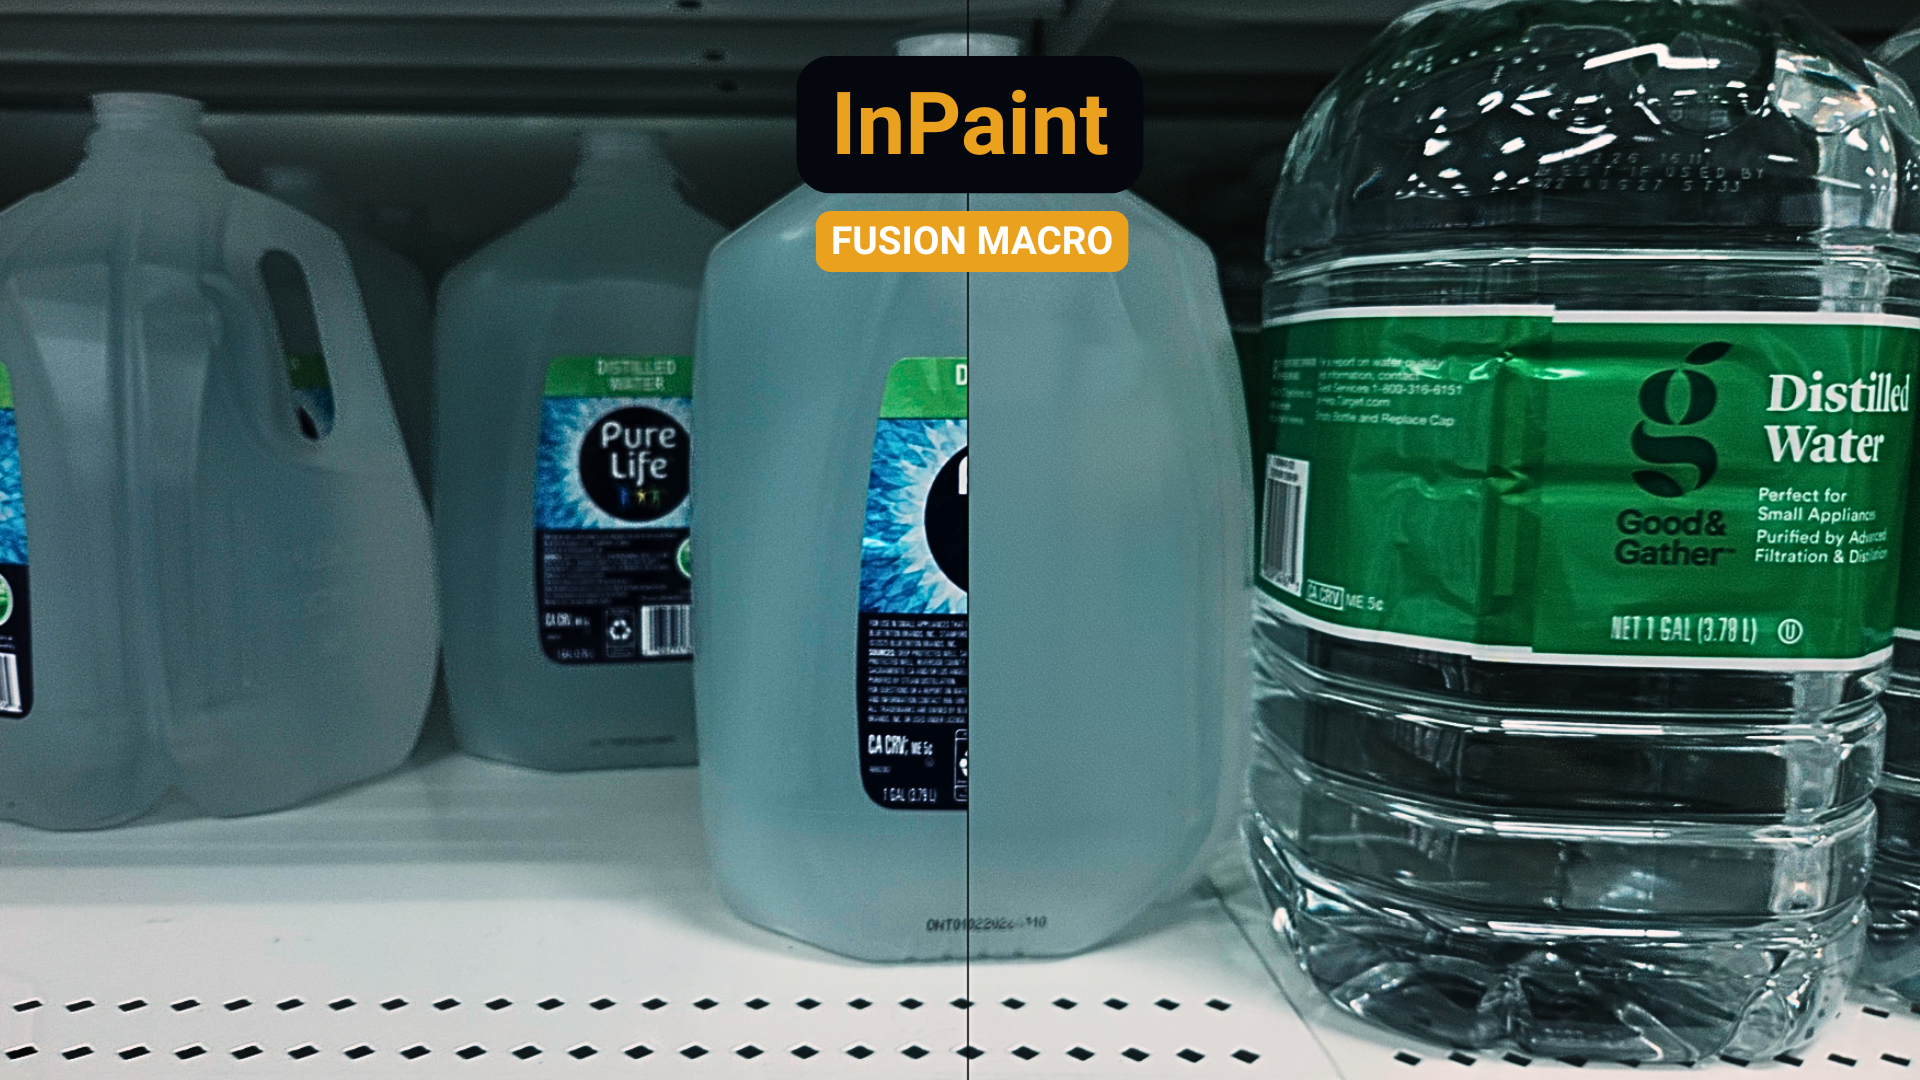
Removing a label on an opaque water jug (using an external texture/noise input)
At the end, you will know the core workflow, the key controls that make the tool work, and how to decide when is right to use it for your shot.
A paintout and cleanup helper for shots where traditional clone painting breaks down due to changing light, gradients, or uneven surfaces.
Feed it a matte to isolate the area to remove, and the macro will generate a soft inpaint-style fill by extending surrounding edge information into the alpha and blending it with controllable blur.
Optionally, you can restore fine texture detail using the original plate or a separate texture input.
This Macro is available in Reactor so if you have that installed you can directly download it there. I know some people don’t have access to Reactor depending on if they have the free or paid version of Fusion so I’m making the tool available here to directly install it.
Download the InPaint macro
This macro is free:
On Reactor (recommended)
Also available on the store if you do not have access to Reactor.
What this Fusion paintout macro is designed to solve
Most manual paintouts fall apart for a few predictable reasons:
Gradients
You clone from “the right color,” but it does not read as the right color once it sits next to surrounding tones. It is classic color perception: the same sampled value can look different depending on what is around it.
Camera movement and imperfect stabilization
Even good tracks have micro-jitter, drift, or perspective changes. Small errors become obvious when using a paint node that is clone stamping from the same source image.
Texture loss
Even if your patch blends, it often becomes noticeably smoother than the rest of the plate.
This tool focuses on matching the lighting first, then reintroduce believable high-frequency detail.
The core workflow
(Track → Stabilize → Paintout → Unstabilize)
The macro is designed to drop into a standard, production-friendly setup:
Create a Planar Tracker (or any tracker your shots needs)
Track the surface you need to clean. For many logo removals, you can often keep it simple: translation + rotation, and only add scale/shear when needed.
Stabilize the footage
Set the planar tracker to Steady so the problem area is locked in place. This makes your mask and your patch behavior far more predictable and less frame by frame roto is needed.
Draw a clean mask around the removal area
Add a Polygon mask around the logo/label/blemish. Cleaner masks usually give cleaner results with less blur and less feathering later.
Feed the stabilized plate and mask into the macro
In the tutorial, the macro takes:
Stabilized image input (from the planar tracker output)
Mask input (your polygon)
By default, it will generate a filled patch immediately, so you can evaluate the patch quickly.
Unstabilize and merge back over the original
Duplicate your planar tracker, invert it, and use it to “unstabilize” the paintout result. Then merge over the original footage so you can judge the final result in motion.
Useful notes
If you choose not to use the macro’s internal texture controls, you can always merge texture over the result manually using different transfer modes. The macro approach is convenient because it is already structured around extracting high frequency detail.
It’s best to judge the result in the final that is merged back over your original plate so you can see the paintout in context.
Practical tips for better results
Track first, then judge in the final (unstabilized) view. A patch can look perfect stabilized but still drift in final.
Start with a clean mask. Better masks require less blur, less feathering, and fewer cover-up tricks.
Use blur to sell the blend, then expand/contract the patch boundaries so the blur does not reveal edges.
Reintroduce detail last. Get the color and lighting correct first, then bring back texture carefully.
If one offset cannot solve multiple removals, duplicate the macro and treat each cleanup zone separately.
Who this tool is for
This macro is built for Fusion artists who want:
Faster paintouts on difficult shots
More consistent results on gradients and bounce light
A repeatable way to get texture back into a cleanup
A small node footprint that still gives you control when you need it
It will not solve every shot automatically, but it is designed to get you into the right neighborhood quickly, so the remaining work is refinement instead of reinvention.
If this macro saves you time on your next cleanup, share the video with another Fusion artist who might benefit from it.