
VFX Tutorial - Planar Tracker Compositing in Blackmagic Fusion
Track a skateboard deck in Fusion Studio, blend a graphic into the worn paint with texture‑aware masks, shadow interaction, and subtle grain for a believable, production‑ready composite.
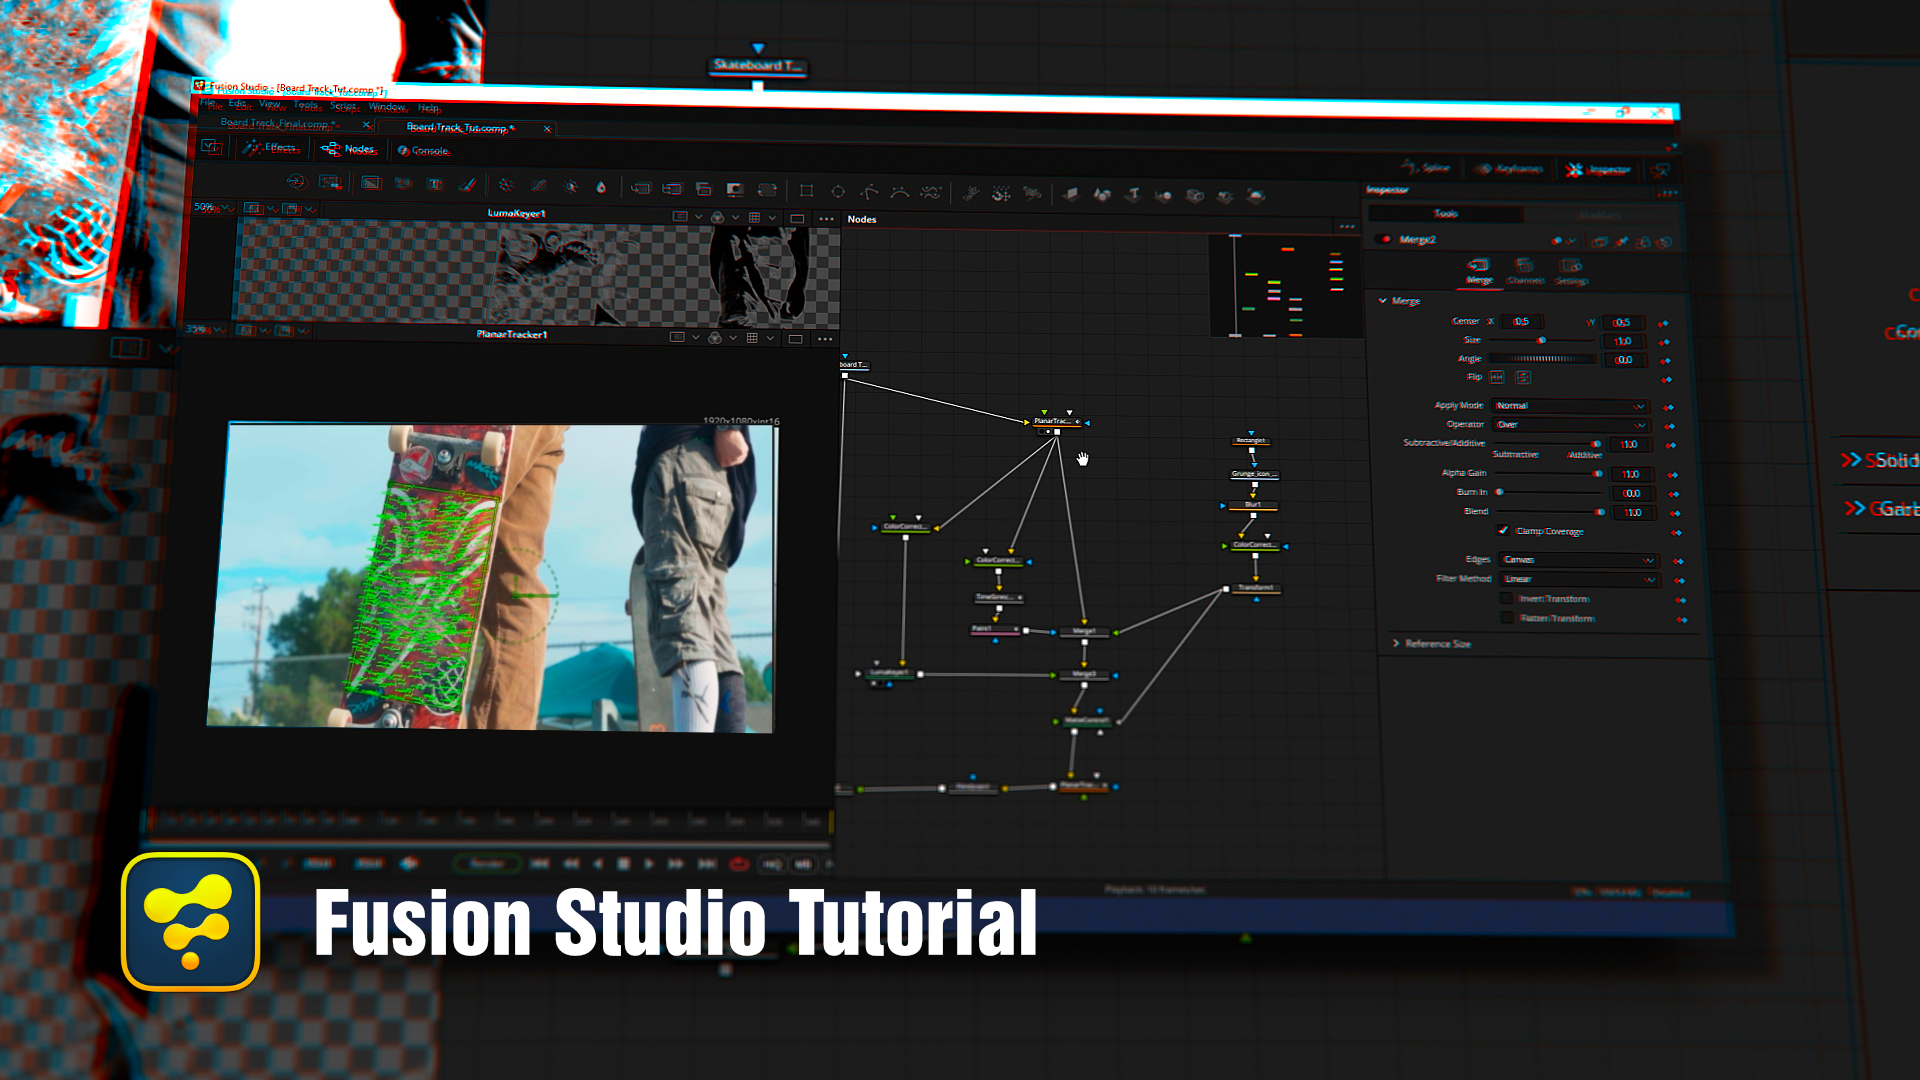
In this step‑by‑step Fusion tutorial, we stabilize our footage to the deck with a Planar Tracker, and composite a static graphic so it looks printed into the board’s chipped paint. You’ll build a lighting‑aware matte, add realistic shadow interaction.
What you’ll learn
Planar tracking and stabilize‑then‑composite workflow using the first frame to build the composite.
Properly sizing and blending artwork with Merge and Transform, including opacity dialing for a natural fit
Building a black‑and‑white texture matte from the stabilized plate with Color Corrector and Time Stretcher.
Refining texture breakup with Paint’s Clone tool to reduce “too‑perfect” vector edges
Extracting light and shadow interaction via desat/contrast + Luma Key (inverted) and re‑merging over the comp
Edge realism with targeted Blur and saturation matching so the graphic sits in the plate
Adding subtle, daylight‑appropriate film grain.
Real‑time decision‑making with Play Preview caching and dual‑viewer playback
Clean re‑apply of motion by inverting the Planar Tracker’s steady transform
Final render setup with Saver and format options